
Air fryers have become quite popular, and for all the right reasons. Not only are air fryers designed to cook healthy food, but they take little to no time to get used to. If it’s your first time buying an air fryer, you must be wondering how to assemble an air fryer.
Air fryers mostly come assembled. It’s just the small accessories that you should know how to handle. Before you can use your air fryer, remove all the stickers, wash the removable parts, and place the air fryer on a heat-resistant and stable surface.
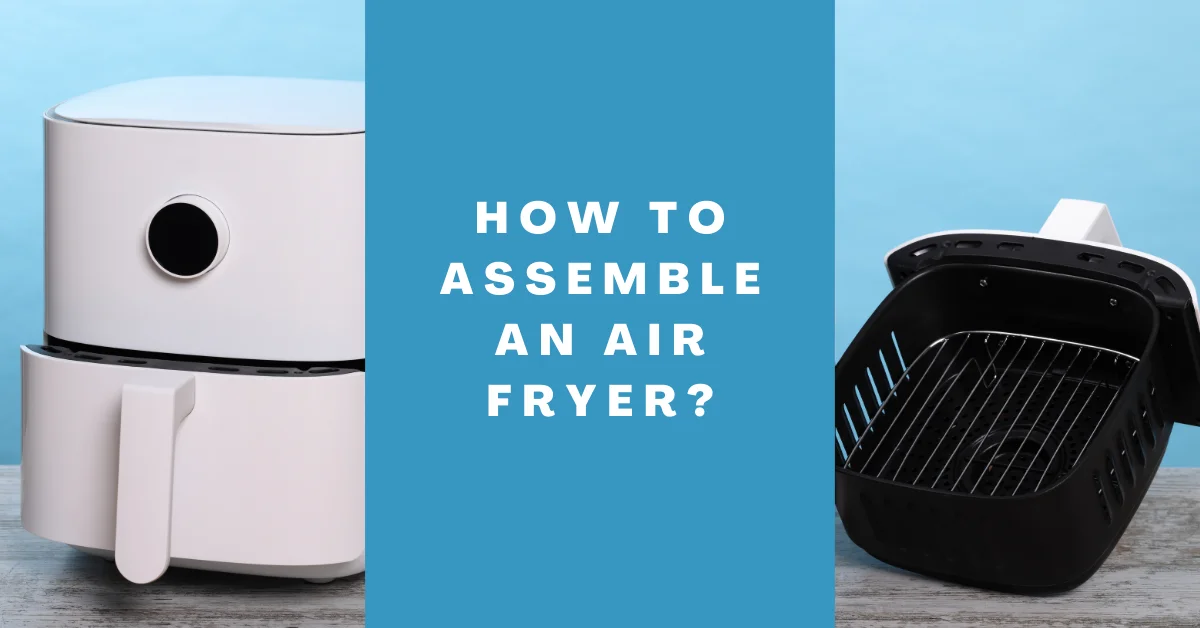
Let’s go through all the basics of putting together an air fryer!
Steps for assembling an air fryer
This is how you set up your air fryer for the first time:
Step 1: Remove all the stickers
Take your air fryer out of the box and remove all the stickers and packaging materials. Make sure to check the basket and near the heating element for any other plastics too.
Step 2: Read the user manual
Make sure to read the user manual, as all air fryers have slight differences. Moreover, the manual also has all the basics of assembling an air fryer to get you started.
Step 3: Wash the parts
Then, clean the removable accessories, such as baskets, to remove any dirt or bacteria. You can even run the parts through a dishwasher if they’re dishwasher-safe.
After you’ve cleaned the parts, pat them dry with a kitchen towel or dishcloth.
Step 4: Assemble the parts
Based on the air fryer model:
- If you have the removable drawer basket model, gently place the basket inside the drawer and insert it into the air fryer.
- If you got the cylindrical basket model, simply put the washed basket inside the cylinder and close the lid.
- If you have the air fryer oven, just slide the tray or basket back in like you do in an oven.
Step 5: Check for edges
Check if the bottom of your air fryer has edges; if not, you need to place some insulation beneath it so that the heat from the air fryer doesn’t damage the countertop.
Step 6: Placing the air fryer
Place the air fryer away from other kitchen appliances. Make sure to keep a space of 5 inches from the wall. Here’s how to provide adequate ventilation for your air fryer.
Step 7: Getting rid of the smell
Now, run the air fryer at 400 degrees Fahrenheit for 5 minutes to get rid of the plastic’s chemical-like smell. For a detailed guide on how to get rid of this smell completely, check our article on it.
How to test run an air fryer
Once you are done setting up the air fryer, it is time to test-run it. You must test-run the air fryer at least once before using it for cooking. This will help you familiarize yourself with the features and buttons and ensure the unit works properly.
- Connect the air fryer to a power socket, and make sure that the basket is empty.
- Set the air fryer to preheat. If you have an inexpensive small air fryer, you will need to use analog control systems.
- Preheat the air fryer to 350 or 400 degrees Fahrenheit for 5 minutes. Once preheating is complete, the air fryer will beep. Then, take out the basket and let it cool down.
- Place it back inside and set your desired temperature and time upon cooling down. Keep an eye on the air fryer to see if it is working fine.
- Then again, the air fryer will automatically shut off and make a beep sound when the cooking time is over. Take the basket out and let it cool for at least 30 minutes.
Conclusion
In the end, assembling an air fryer is not complicated at all. All you need to do is follow the tips mentioned above and keep the user manual nearby to see how the accessories work. And if the air fryer experiences some problems, you might want to consult an expert for repairing and assembling.